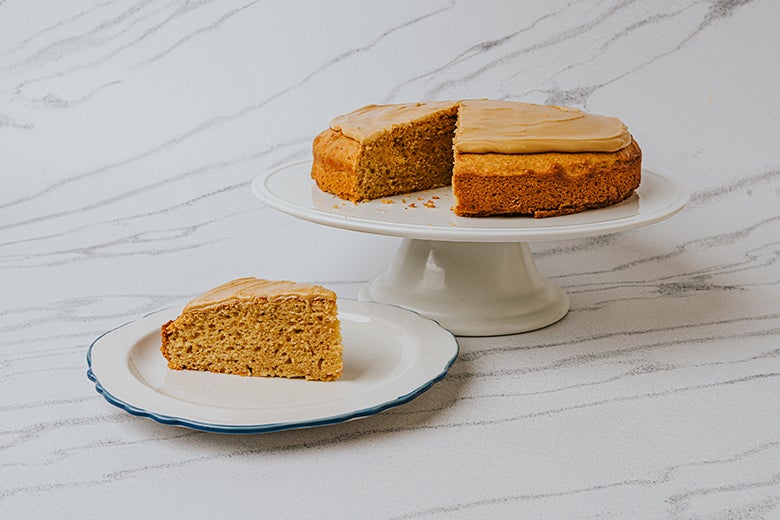
Extra Good
A no-mixer-required cake inspired by fragrant Middle Eastern coffee
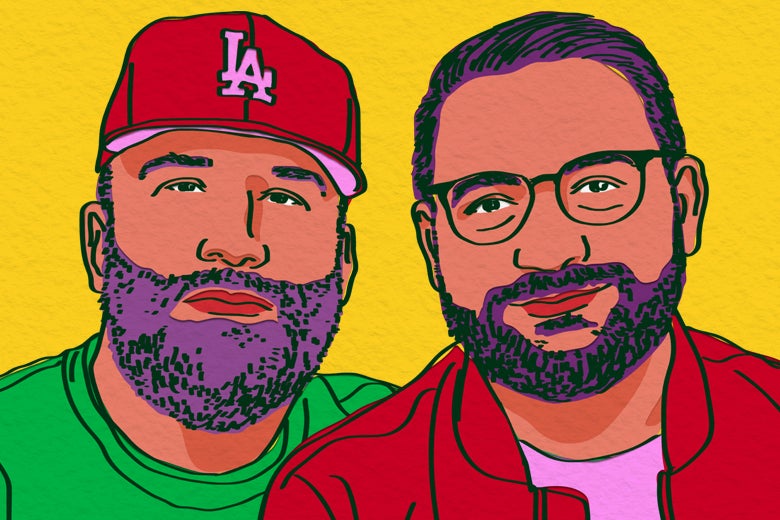
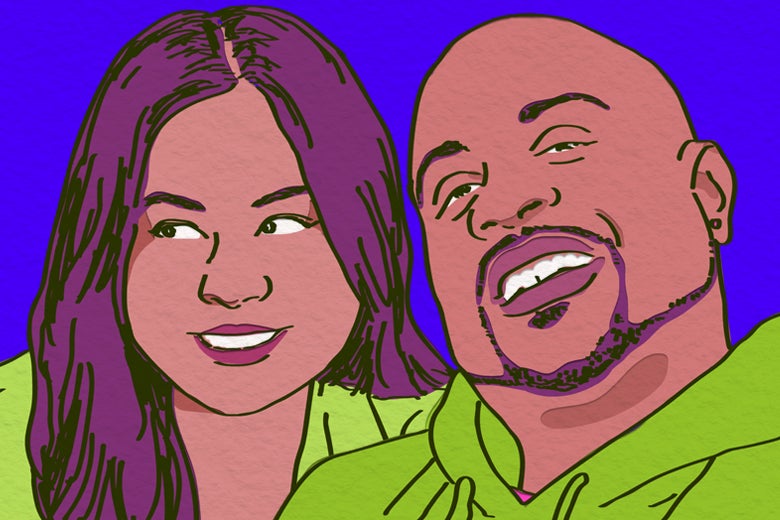
The TASTE Podcast
Two Los Angeles food podcasters have entered the studio, and the opinions are flowing. It was so great catching up with the dynamic duo of Jordan Okun and Max Shapiro, the voices behind the Air Jordan podcast and some of the LA food scene’s spiciest takes.
Culture
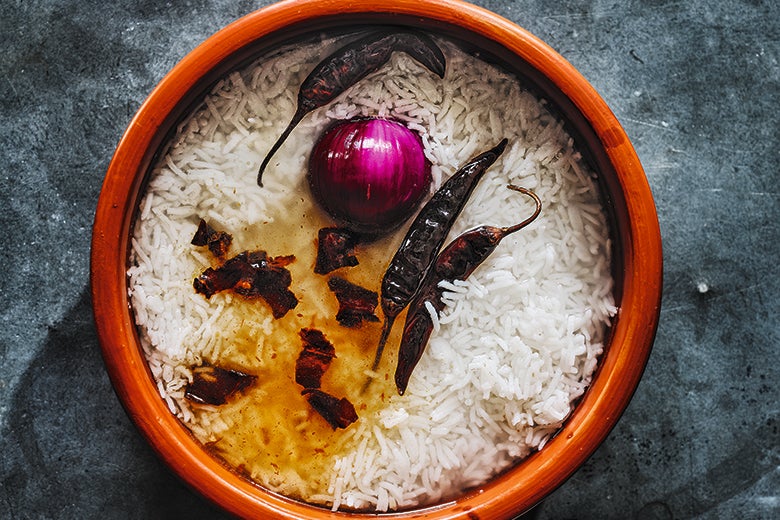
How a funky fermented rice dish represents Bangladesh’s historic past and vibrant future
Culture
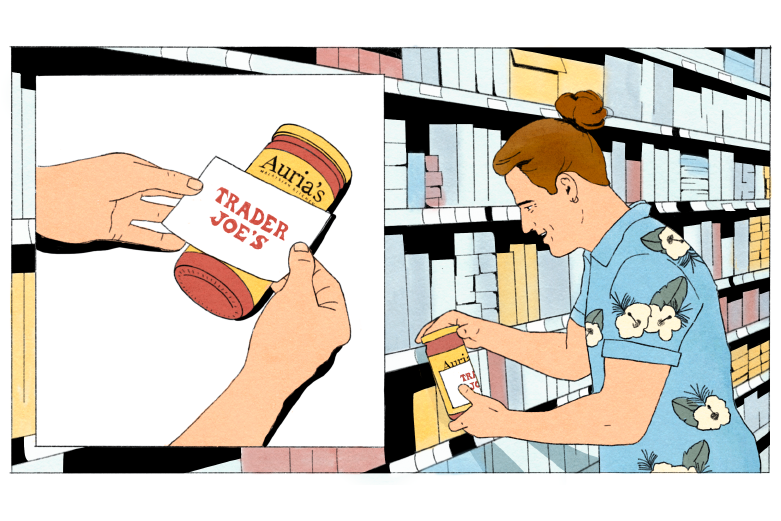
Behind the bubbly cashiers in Hawaiian shirts, craveable snacks, and bargain-basement prices are questionable business practices that have many food brands crying foul at the company’s blatant and aggressive copycat culture.
Special Issue
The Coffee Issue
Coffee is in our hands, and on our minds, constantly. And this special issue tackles it from all directions. Where it's grown, how it's brewed, and the culture behind the world's most-beloved beverage.
Special Issue
The Emilia-Romagna Issue
Oh, the riches of Emilia-Romagna, Italy’s most expressive region for food. Parma. Bologna. Modena. We went there in this very special issue.
Recent Articles